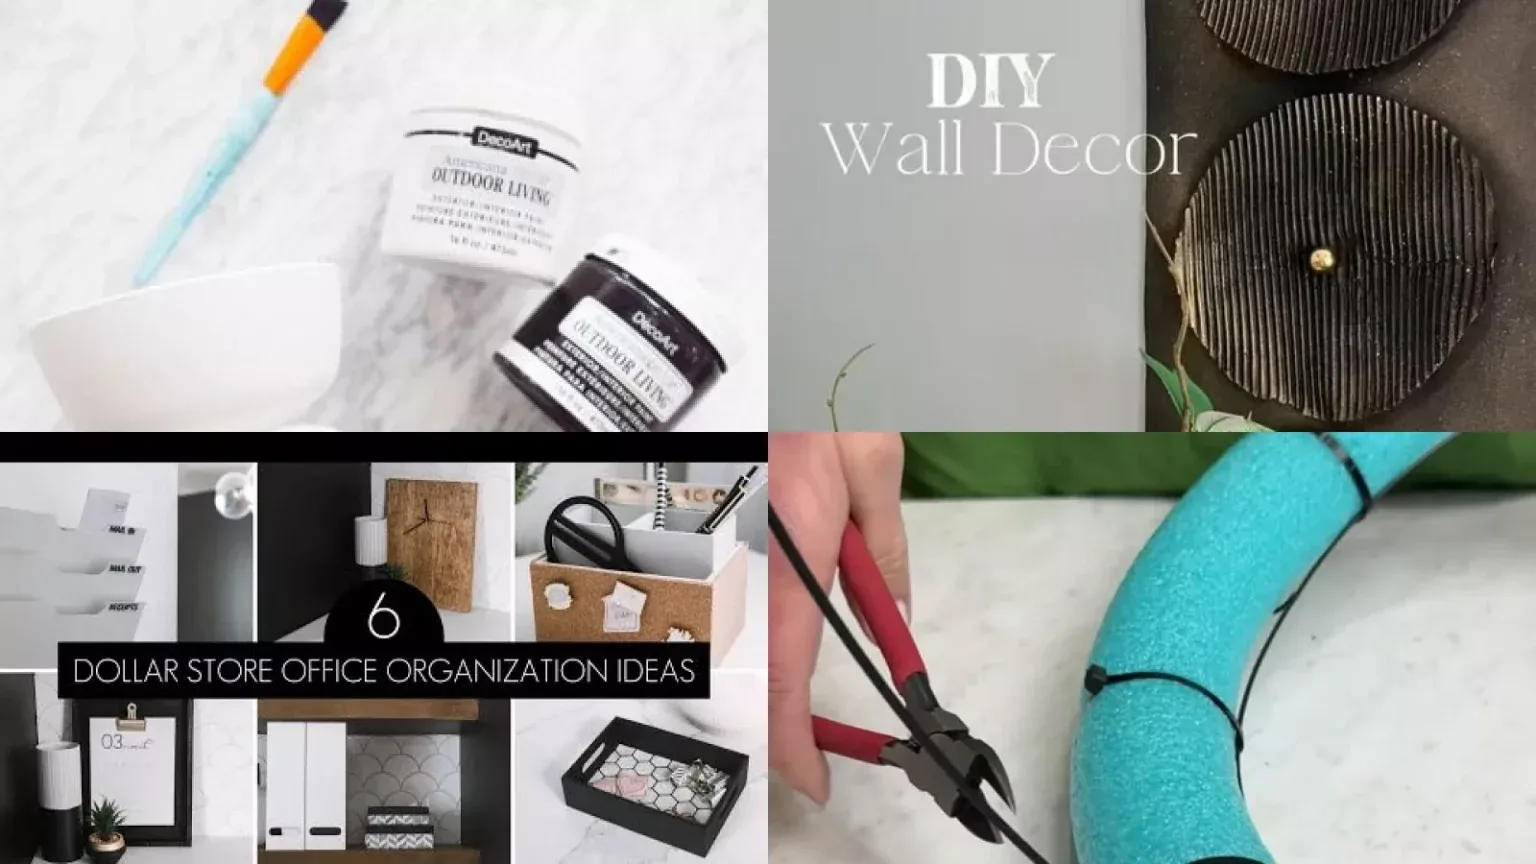
Let's be honest — most dollar store decor looks like dollar store decor. Shiny plastic, flimsy frames, that weird faux-floral smell. But here's the thing: the people whose homes you save on Pinterest aren't buying better stuff. They're just changing the stuff they already bought.
No power tools. No design degree. No "I'll get to it someday" projects. Just paint, glue, rope, and about 20 minutes per hack.
I scrolled through way too many pins to get here — these are only the ones that actually work.
Save this post before your next Dollar Tree run. Every hack below uses items that are almost always in stock.
1. Rope-Wrapped Storage Bins
Plastic storage bins are practical and ugly. Jute rope fixes exactly one of those problems.
Hot glue the rope in a spiral starting from the bottom, working your way up. It takes patience more than skill — and the finished bin looks like it came from a boutique, not a bin aisle.
- Why it works: The rope completely hides the plastic and adds the texture people pay $40+ for.
- Pro tip: Use a low-temp glue gun so you don't melt the bin.
2. Woven Basket Wall Decor
Baskets aren't just for storage anymore. Flatten three or four against the wall in a cluster and you've got a textured gallery wall for under $6.
Mix sizes — one large, two medium, one small — so it looks collected instead of bought-as-a-set.
- Command strips hold them fine (no nails, renter-friendly)
- Mix three sizes for depth
- Nobody has to know it cost you five bucks
3. The Faux Marble Tray
This is the one that makes people ask where you got it.
Take a plain dollar store tray, clean it, and give it two coats of white acrylic paint. While the second coat is still tacky, drag a feather or a dry brush through wet gray paint to create veins. Seal with matte Mod Podge.
- Why it works: Marble is about contrast and imperfection — not precision.
- Total cost: Under $5. Looks like $80.
4. Spray-Painted Candlesticks
Those ornate plastic candlesticks in the wedding aisle? They're a gold-leaf hack waiting to happen.
Lightly scuff them with fine sandpaper, then spray with metallic gold. Two thin coats beat one thick coat every single time.
- Skip the primer — plastic holds spray paint fine if you scuff it first
- Let them cure 24 hours before you put candles on them
5. Cutting Board Turned Wall Sconce
A wooden cutting board, a few ½-inch craft cubes, and a coat of walnut stain or metallic spray paint. That's the whole supply list.
Glue the cubes to the back as a mounting block, attach a small LED puck light, and hang. It reads as a custom sconce from three feet away.
- Why it works: Wood grain instantly signals "real material" even when it isn't.
- No wiring needed — use battery puck lights.
6. Pool Noodle Abstract Wall Art
Yes, really. Three pool noodles, a craft knife, strong glue (E6000), and gold spray paint.
Cut the noodles into three different lengths, glue them into an abstract arrangement on a board, and coat the whole thing gold. It looks like a $200 gallery piece and weighs almost nothing.
- Cut on a protected surface — pool noodle shavings get everywhere
- Two light coats of gold, not one heavy one
7. Mirror Frame Glow-Up
A plain bathroom mirror becomes custom with rope, wood beads, or flat glass marbles glued around the edge.
This is the project that makes a rental bathroom feel like it was designed on purpose. Let it dry overnight before hanging anything near it.
- Rope trim is the easiest starter version
- Wood beads give a warmer, more organic look
8. Frosted Glass Vases
A $1 glass cylinder plus a can of frosted glass spray equals something that looks straight out of Anthropologie.
Clean the glass completely (fingerprints show through frosting), then spray in thin passes from about 10 inches away.
- Why it works: Frosting diffuses light and hides the cheap seams in dollar store glass.
- Bonus: Group three at different heights.
9. Wooden Tray Farmhouse Finish
Dollar store wooden trays come too shiny and too orange. Sand lightly, add one coat of wood stain, then a thin layer of dark wax for that worn-in look.
Go easy on the wax — too much and it turns sticky instead of aged.
- Sanding is non-negotiable — it's what lets the stain absorb
- One coat of stain is enough for a small tray
10. Faux Floral Rescue
Cheap faux flowers don't need replacing — they need fixing.
Separate the stems, trim them shorter, and fluff the petals by hand. Then hit them with one light coat of matte spray sealer. That's it. The shiny plastic look disappears.
- Matte sealer is the entire trick
- Trim stems before arranging so the proportions look intentional
11. Stoneware Bowl Kitchen Storage
Glue a plastic bowl to a glass candleholder with E6000. Then mix acrylic paint with baking soda and coat the whole thing for a textured, ceramic-looking finish.
The baking soda is what gives it that matte, handmade stoneware texture instead of a flat painted look.
- Let the adhesive cure fully before painting
- Two thin coats of the paint mixture
12. Sink Riser from Wood Pallets
Two small wood pallets plus two MDF planks make a countertop riser that organizes soap, sponges, and brushes — and looks like a custom kitchen accessory.
Stain or paint to match your kitchen, then seal with polycrylic so it survives splashes.
- Measure your sink area first
- Seal it — bare MDF and water are enemies
13. Vanity Shelf from Craft Wood
A floating-style vanity shelf for under $6: two mini wood pallets as the base, one plank as the shelf, glued and clamped overnight.
Style it with a small candle, a tiny plant, and one pretty bottle. That's the whole formula.
- Clamp it while drying — this is the difference between "shelf" and "pile of wood"
- Keep it light — don't overload a glue-only shelf
14. Spray-Painted Vases, Three Ways
Buy three identical cheap vases. Spray one matte black, one warm terracotta, and one textured stone-finish. Display them as a trio.
This is the cheapest way to make a shelf look styled instead of scattered.
- Same shape, different finishes = intentional collection
- Texture spray does more work than color alone
15. Frame + Mat Upgrade
A dollar store frame with a dollar store print looks cheap. The same frame with a proper mat looks like a gallery piece.
Cut a mat from cardstock (or buy a pre-cut one), and suddenly the artwork has breathing room.
- The mat is the upgrade — not the frame
- Off-white or warm white works with almost everything
16. Glass Candle Holder Cluster
Cluster five glass candle holders at different heights on a tray with a few faux eucalyptus stems. Add LED tealights.
This is the single easiest way to make a coffee table or console look "finished" for under $10.
- Odd numbers look better than even
- Vary the heights — flat clusters look like clutter
17. Cooling Rack Sconces
A metal cooling rack plus a placemat becomes a wall sconce when you add a wireless LED puck light. The rack becomes the frame; the placemat becomes the backing.
It's weird until you see it finished — then it looks completely intentional.
- Wireless LED lights mean no electrician
- Spray paint the rack to match your wall or contrast it
18. Basket Organization Wall
Mount three or four small baskets on the wall in a row for entryway or bathroom storage. Command hooks, no drilling.
Keys, mail, hair ties, chargers — all the small chaos gets a home that looks like decor instead of a junk drawer.
- Label the baskets if you want it to look even more intentional
- Keep the contents shallow so they stay useful
19. The "Antique" Mirror Trick
A plain photo frame plus a can of mirror-effect spray paint (or antique mirror spray) becomes a small decorative mirror.
The imperfections in the spray are what make it look old — so don't try to make it perfect.
- Spray in light passes for a mottled antique finish
- Seal the back so the coating doesn't scratch off
The Rule Behind All 19
None of these hacks are about buying more. They're about changing the finish, the texture, or the context of something cheap.
A plastic bin becomes a woven basket when you change its surface. A plain mirror becomes custom when you change its edge. A cheap frame becomes gallery-worthy when you give it breathing room.
That's the whole skill. And it costs about $1.25 to practice.
Save this pin for your next Dollar Tree trip — and if you try one, start with the rope-wrapped bin or the faux marble tray. Those two have the biggest before-and-after for the least effort.